Ready to clear the junk out of your home for a fresh start? Our guide will show you how.
Clearing Out a House for What’s Next
No matter how diligent you are, clutter easily piles up. Whether it’s an attic that has become a box warehouse or years of living in a house catching up to you, sometimes you need to hit the reset button.
Just how do you clean out something as big as a home without being overwhelmed? We’ve asked the experts at Becoming Minimalist, Get Organized Already, The Joyful Organizer and The Organizing Professionals for their tricks to plan a successful home cleanout.
Step 1: Plan Your Home Cleanout
You don’t build a home without blueprints and you wouldn’t take a road trip without a map. Cleaning out your home is no different. As you get ready to start, it’s important you take the time to step back and figure out why and how you’re decluttering your home.
Step 2: Take Out the Trash
To start cleaning out a room, get rid of things that are obviously trash. Broken things, duplicate items and objects you haven’t touched in a long time are all prime candidates to be purged in this phase.
Don’t stress about making tough decisions on what needs to be thrown out at this point — just take an initial sweep. In the next step, you’ll get a better picture of the overall project and it will help you make those tough decisions.
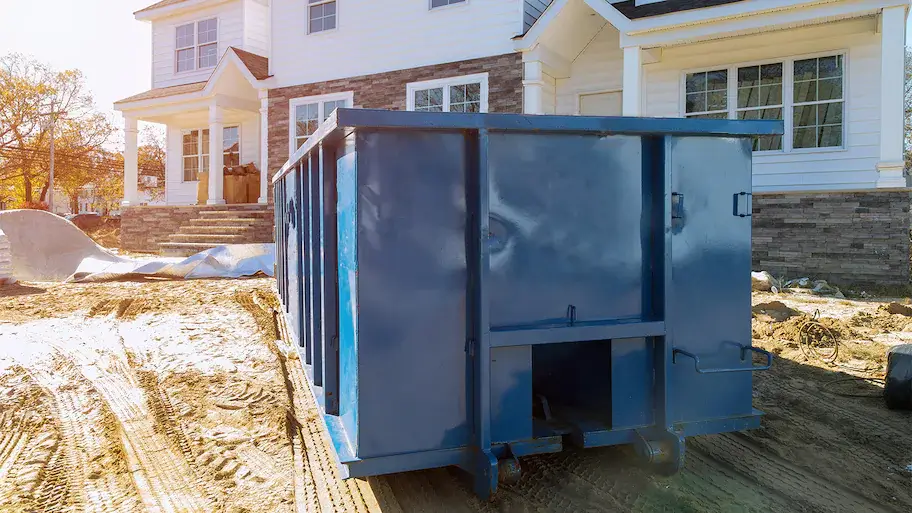
If you’ve got a few rooms in a row coming up that you plan to clean out, consider renting a dumpster for this step, allowing you to toss the trash from all those rooms as you work on your schedule with our flexible rental periods.
Step 3: Start Sorting
With a fair amount of trash out of the room you’re working on, you now have some extra space to categorize. Sort what’s left in the room into three piles: keep, donate and store.
If you find yourself becoming overwhelmed by this process, there are a few things you can do to help keep yourself energized and engaged:
- Take breaks: There’s no harm in recognizing that you’re drained and need to stop for a bit to ensure you’re making progress. Take some time, recharge and get back to it. The key is making sure that you’re not taking lengthy breaks that impact your timeline.
-
Start small: Break the room into smaller sections. Use some painters tape to break the room into 5-by-5-foot sections and focus on sorting that area. In the end, you’ll get the whole room done, but by breaking it into manageable chunks, the project won’t feel quite as imposing.
Additionally, this step tends to be the hardest because you’ll be forced to make decisions on items that you may have an emotional attachment to. While these decisions are personal, Becker offered some advice on how to approach sentimental items: “The most important step is to recognize where those emotional attachments are stemming from and if they are healthy motivations or not.”
Sometimes these items are holding you back from moving forward in life. Cleaning them out can be a good time to think about the past, remember the good times, make peace with what has happened and then part with the item so that you can move forward.
Bernstein provided a few mantras that she has used with her clients to help them determine if an item is something they really need to hold on to:
- If you don’t love it, need it or use it, it doesn’t deserve a place in your home.
- Just because something is usable doesn’t mean you need to keep it.
- If you keep everything, then nothing is special.
Ultimately, the decision on each item is up to you. No one can tell you what you should and should not keep. However, that means you need to be honest with yourself when making your decisions.
Step 4: Take Items to a Storage Unit or Donation Location
With everything sorted, you should have a few piles of items that need to be stored or donated. Now’s the time to get that stuff out of your home. Take as many trips as you need to get the items to their final destination. Second-guessing is natural, particularly for items you are attached to. However, if you felt strongly enough to get rid of it, you should trust that instinct.
Step 5: Organize What Remains
At this point, all that should remain from your decluttering adventure is the keep pile. Go ahead and put away the stuff that will stay in the room. It’s the items that will be housed in a different room that could be problematic.
If the destination room has already been cleaned out, get those items put away. If you have yet to declutter the room where an item is heading, let it stay where it is until you get to that room. However, make sure whatever you want to keep is not tucked away — keeping it where you see it will help you remember to move it.
Keep in mind, it’s going to take some time to remember where you put all of these items. Don’t worry. That’s perfectly natural and expected.